If your home exhibits clear indications that it needs spray foam insulation, you might be tempted to tackle the project on your own. However, applying spray foam insulation isn’t as straightforward as spraying paint or applying shaving cream. The process is more complex and involves significant considerations, which is why hiring an experienced professional might be the better choice.
This guide aims to provide clarity on the process of installing spray foam insulation and help you determine whether this is a task you can take on by yourself.
What is Spray Foam Insulation?
Spray foam insulation, often associated with tight-seal applications, was specifically developed to enhance energy efficiency in buildings. It involves using spray polyurethane foam (SPF), a plastic that is applied as a spray. SPF is designed to insulate structures while sealing gaps and cracks, resulting in better energy retention and improved comfort within the building.
One of the standout qualities of spray foam is its exceptional ability to resist heat transfer. Its tightly sealed application also minimizes the infiltration of unwanted air. Additionally, spray foam proves highly effective for sealing joints, cracks, and seams, even in areas that are difficult to access.

How Do You Apply Spray Foam Insulation?
If you’re considering a DIY approach, it’s important to understand the process thoroughly. The following steps outline how to apply spray foam insulation in an existing home, helping you decide whether it’s within your capabilities.
1. Calculate the Amount of Insulation Needed
Begin by determining the amount of spray foam necessary to properly insulate your home. You can consult resources such as the California Energy Commission Consumer Energy Center or the North American Insulation Manufacturers Association to obtain recommendations for your home’s specific needs.
For reference, many experts indicate that in most areas of the United States, from California through the South and Midwest to New Jersey, attics typically require insulation rated between R38 and R60. Wall cavities generally need insulation rated R13 to R15.
2. Insulating Attics and Walls with Spray Foam
Adding insulation to your attic and walls can significantly improve your home’s ability to retain heat during colder months and maintain comfortable temperatures year-round. Spray foam is particularly suited for this task because of its poly-based material, which expands to create an airtight seal.
To apply spray foam insulation efficiently and with minimal mess, follow these steps:
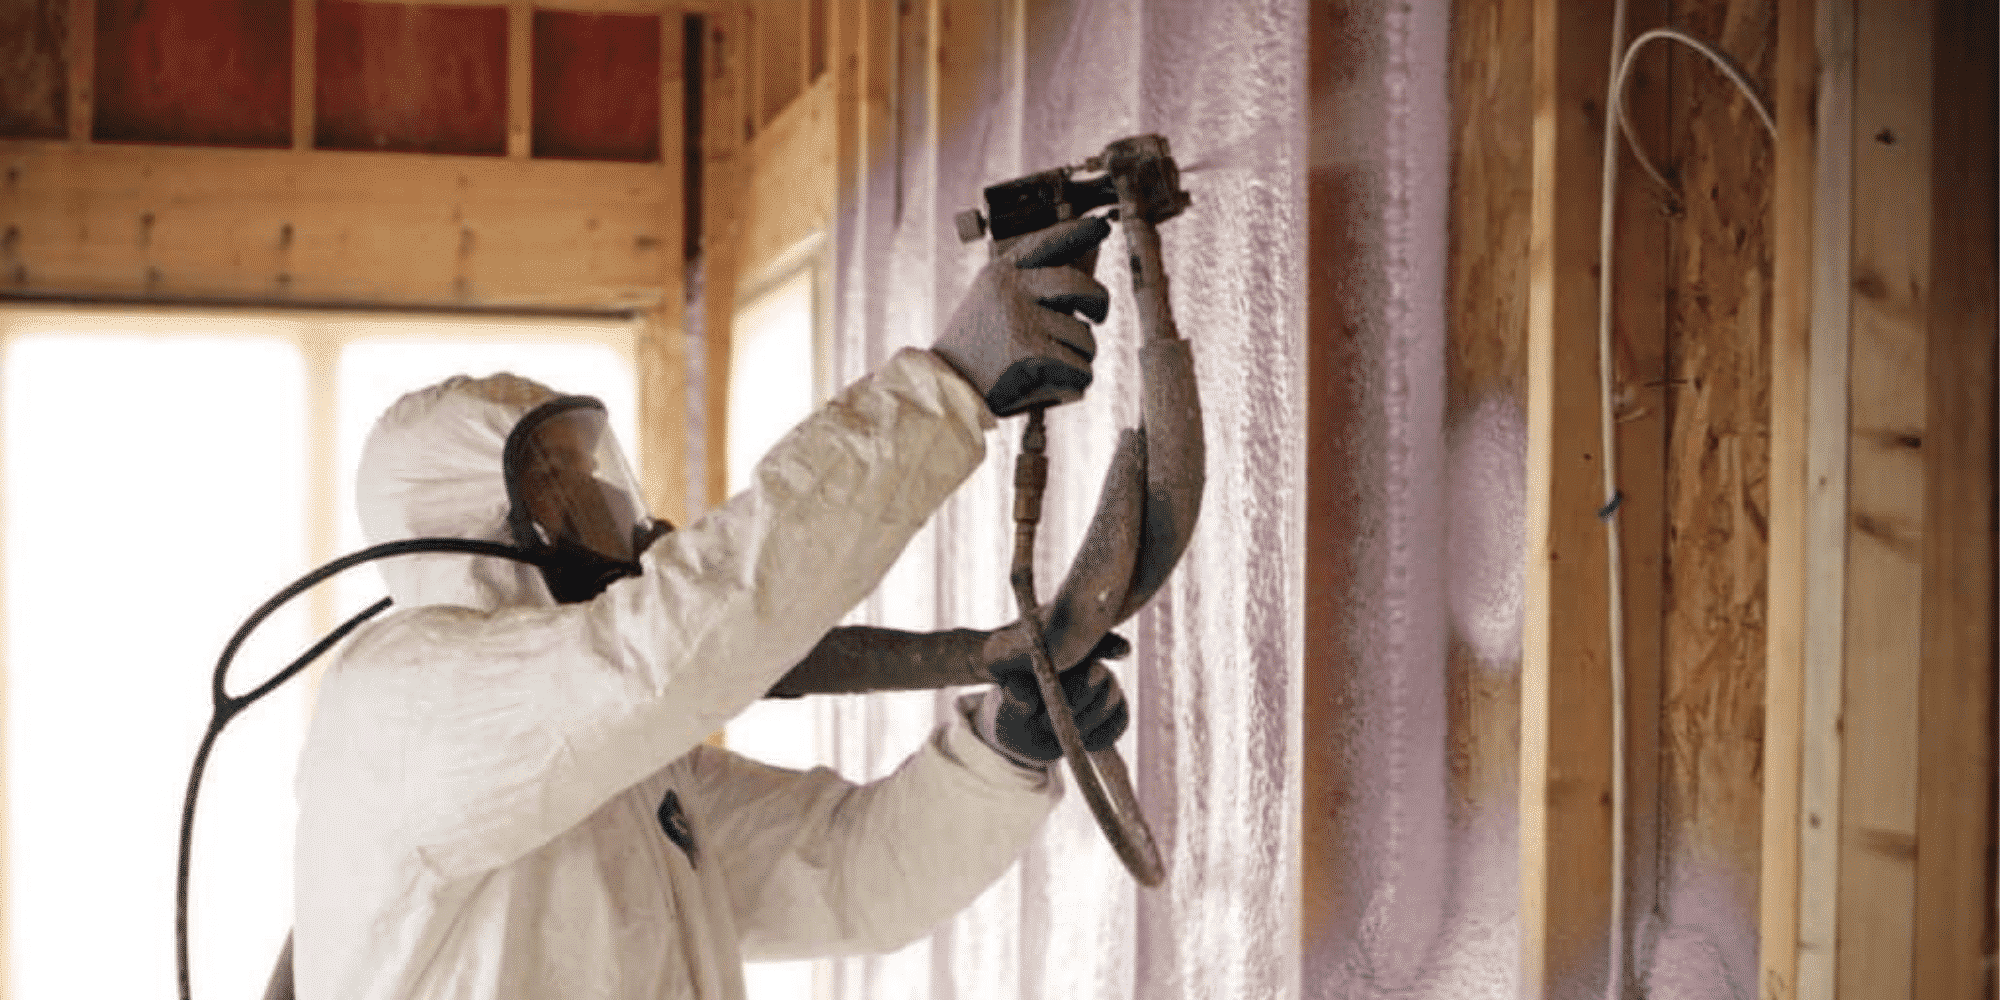
- Wear Proper Protective Gear:
The chemicals used in spray foam can be hazardous to both your skin and respiratory system. To ensure your safety, equip yourself with the following:- A respirator to protect your lungs.
- A full protective suit to prevent skin exposure.
- Chemical-resistant gloves to shield your hands.
- Wrap-around goggles for eye protection.
- Old or disposable shoes, as they may become damaged during the application process.
The next part of the process involves specific spraying techniques and equipment handling, which we’ll cover in the continuation of this guide. Stay tuned to understand the intricacies of spray foam application and decide whether it’s a task best left to professionals.
Important Considerations When Applying Spray Foam
1. Ensure Surfaces Are Dry
Spray foam will not adhere properly to surfaces with moisture levels exceeding 20%. It’s essential to test the moisture level of any surface before application to ensure the foam will bond effectively. Ignoring this step could result in wasted materials and poor insulation performance.
2. Plan and Test Before Spraying
Before beginning the actual application, it’s important to test the spray gun to ensure the chemicals flow evenly. To do this, aim the gun into a garbage bag or an empty box and check for consistency. Additionally, take time to carefully plan the process, addressing the following tasks beforehand:
- Clear the Workspace: Remove any furniture or obstructions from the area.
- Identify Priority Areas: Decide which specific joints, cracks, or seams need insulation.
- Position Equipment: Place ladders where necessary to ensure safe access.
- Ventilate the Space: Use fans to direct fumes outdoors and maintain air circulation.
3. Maintain Your Equipment
Spray foam guns require consistent upkeep to ensure smooth operation. After each pause in spraying, replace the tips and lubricate the gun to prevent foam from hardening and clogging the nozzle. Additionally, shake the foam cans regularly to keep the contents well-mixed, following the manufacturer’s instructions for operation and storage.
4. Application Tips for Walls
For effective results when applying spray foam in walls:
- Begin by spraying a thin, half-inch layer around the perimeter of the wall cavity. Allow the foam to expand before filling the cavity.
- If applying additional layers, wait for the first layer to cure to achieve the best R-value. Avoid spraying foam layers thicker than 2 inches to prevent performance issues.
- Target other areas needing insulation, such as the gaps between bottom plates and concrete foundation walls.
- Smooth excess foam by using tools like a curry comb to scrape overspray or a hand saw for larger chunks.

DIY Spray Foam Kits vs. Hiring a Professional
When to Use DIY Spray Foam Kits
DIY spray foam kits can be a practical choice for smaller-scale tasks, such as sealing minor gaps, joints, or weatherproofing around windows and doors. They are generally easy to use for these limited applications and cost-effective for touch-ups.
When to Hire a Professional
For larger projects, such as insulating entire walls or attics, hiring a professional spray foam contractor is typically the better choice. The reasons include:
- Complexity of Application: Mixing the spray foam compounds incorrectly can ruin the materials, leading to additional expenses. Professionals have the expertise to handle this accurately.
- Troubleshooting Equipment: Spray foam guns can malfunction, and ensuring consistent, even spraying requires skill. If you’re not confident in resolving potential issues, a contractor can save time and effort.
- Licensed and Insured Experts: Professional contractors are licensed and insured to perform spray foam installations. Their training covers all aspects of the job, from preparation to cleanup, ensuring a thorough and effective application.
While hiring a contractor may come with a higher upfront cost, it’s often more cost-effective in the long run due to the efficiency and durability of professionally applied insulation. If you’re in a city like New Orleans, where climate conditions demand reliable insulation, professional contractors can handle jobs of any size while adhering to safety and quality standards.
Making the Decision
When weighing the choice between DIY and professional installation, consider the scope of your project and your own skill level. For smaller areas, a DIY kit may suffice, but for more extensive work, professional help is the safest and most reliable option. Research and compare contractors to find the best deal and ensure your insulation needs are met effectively

